Sunday, 10 March 2013

Busy weekend and goal achieved

Well on Friday I said to myself that I will finish the two pairs of tongs I started and voila! I have done it. The first pair are as ugly as sin but are surprisingly very useful. The second pair are by far much better and look great as well. Here are some pics of them as well as some of my other tools I have amassed.

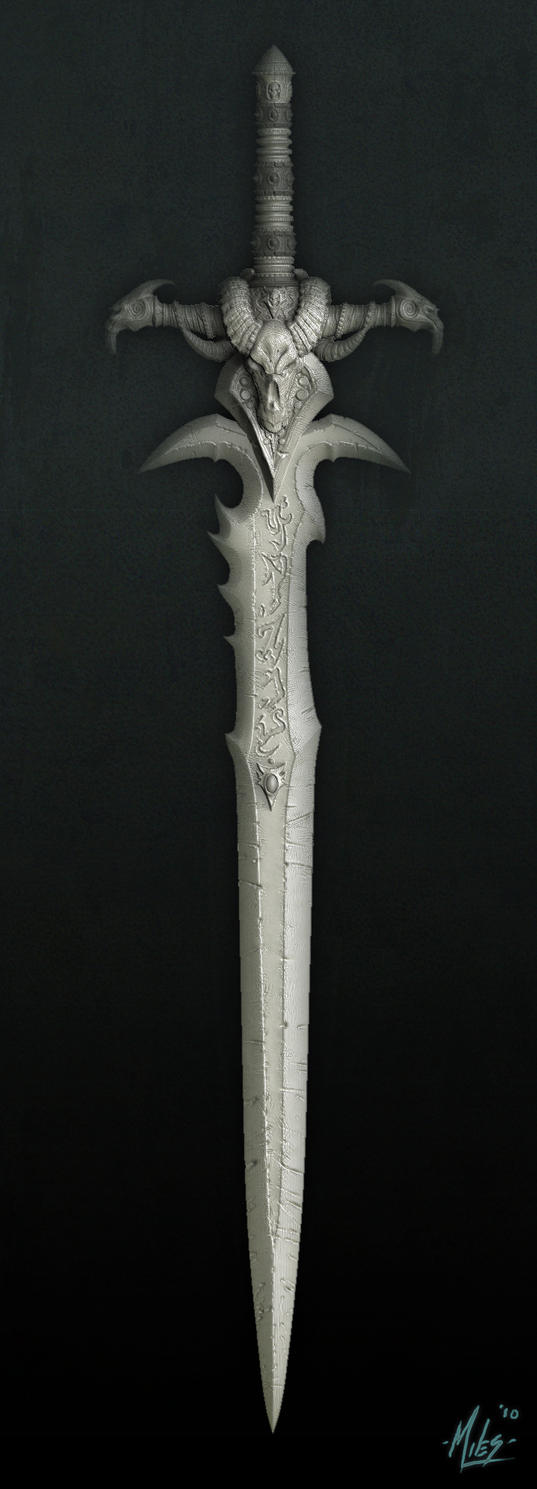
On a different note I have been commissioned to make yet another weapon lol. Pictures also included.

These are all my forge tools I have so far. From right: 1kg machinists hammer, 1 water scoop, 1 punch, 1 cutter, 1 First pair of tongs, top - Second pair of tongs, Bottom - Fire poker.
Detail of the scroll work on the end of the poker.
The water scoop.
My first pair of tongs made from 10mm steel bar, head and neck forged, handles drawn out  near head and widening to the back, this balances them very well. The two parts were riveted together by myself.
Detail of the head. As you can see the one lip is longer than the other, this makes it an excelent tool to use when doing rivet work as the longer head can be placed over the rivet and is used to hold it in place while you shape the other side of the rivet.I have not included a picture but the lips have a groove down the center so as to be able to grip onto the piece being worked on.
My pride and joy at this moment. The second pair of tongs I have made. The heads were forged from 16mm bar and then the neck was drawn out to only 1cm, I then cut them off of the original stock riveted them together and then welded the handles on afterwards.
Size comparison.
This one also has the groove in the center so as to be able to grip better.
Detail of the head. Here you can also see the top lip is slightly longer, this is so that I can scoop the piece I am trying to grab rather than chase it around the fire pot. You can see the welds that I made as well.

This is the Staff I have been commissioned to make.

As you can see it is not so difficult, the grooves are 2mm deep and there are a total of 20, 10 a side, the patrons name will be in the center and their initials on the ends. It will be 2m long and 2cm wide.

Thank you all for reading my posts I appreciate it very much. Fell free to drop any comments I look forward to them.

Monday, 25 February 2013

Work Work Work

Wow long time and much done. The combination of the new year, a new approach to studying and many new ideas flooding into my brain have all kept me from posting much these days and I apologize dear readers for being such an appalling host. Here are a few items I have made and where no pictures exsist you can be sure of them in the near future.

I have made a Dwarvish maille belt using an adaptation of a triangular tube as you can see below.


I have also made much progress on the shirt I am making, this is the comparison between now and the last shot I showed you all.


I have estimated that I will need another 7000 rings before I am finished  That will take me a total of 28 more sessions to finish in each session I do at least 250 rings. It now weighs in at 9 kgs (20 lbs)

I am also going to make a chainmaille bikini top as shown below.


This is a bag I made using a plain 4-1 English maille weave. The leather was hand stitched by myself.


Quit a bit done in a short time period. I will be getting back to the hot worked metal soon as I have a few free weekends coming up soon. I will be finishing off two pairs of tongs then so keep watch for those.

Tuesday, 22 January 2013

Promises

Hey people.

Well I weighed that monstrosity that Max bought and it weighs a lovely 8kg or 18lb (for my more unusual readers of non South African origin who do not leave any comments but merely act as voyeurs I wish you would make a comment some of you). This is not as bad as I thought and I can even swing the thing myself.

In other news work has started again on my Chainmaile shirt as I have found a better supplier for spring washers and bought 4 kg (4156 units) of spring washers. By this I calculated that the piece that I have made weighing in at 6kg is made up of 5774 units of spring washers so far. It reaches just below my pectorals and is now lengthening.

Pictures of both processes will soon be coming

Thank you all for reading.

Monday, 21 January 2013

It begins

Well Friends.

Today Max bought the steel spring from the Truck Leaf spring company I found and he gave it to me.

To put it lightly its really heavy I cant imagine swinging it when it is done, there will have to be a lot of counterbalancing in the hilt and decorations. I will weigh it tomorrow and Inform you all of its weight. Apart from its weight is the flaw in it.

It being the leaf spring it is, it has a nice hole part way from the edge in the center of it. This is to accommodate the bolt that holds the stack of leaf springs together. Unfortunately this is all we could find. So the sword might end up a little smaller than anticipated. I will attempt to forge weld the hole closed but this will make it a weak spot. Another method is just to incorporate it into the blade and use it for the section that holds a gem in it as seen in the photos. Yet another method is that I can just bash at it and make the hole a little thinner and maybe hope it closes itself(Unlikely method).

So the great project is underway and so far all my weekends are booked up from here until the middle of feb. Oh the irony.

Well thank you all for reading and come back as soon as I have weighed the monster (Will be accompanied by a photo)

Friday, 18 January 2013

Frostmourne

My dear and crazy readers.

Today I posted a plea on Iforgeiron for help.

Help with this monster...

My good buddy and mad friend Max has commissioned it from me... And I have only just started my blacksmiths work... Here is to many hours of toil as well as many weekends of frustration wish me luck!
I will be posting process photos as I move along with it, thankfully Max is going to helping me and is going to be doing most of the brute work.

Thanks guys for reading and supporting my blog!

Wednesday, 16 January 2013

My second welding project. The first was my forge.


So here are a few snaps of me and a few fiends at work making a security gate for the first time.
394886_520105361356578_703854403_n.jpg
This is the gate.
546915_520105291356585_1674856909_n.jpg
Doing some grinding.
25960_520105114689936_1485581521_n.jpg
Me welding.
546808_520104958023285_305123404_n.jpg
Is this a bad position to be in or is it OK to be above the weld?
6117_520104711356643_1975594630_n.jpg
My friend acting like a caveman.
19125_520104691356645_270191959_n.jpg
The gate is up.
3821_520104634689984_1104413884_n.jpg
Welding in the hinges.

Well this was a real learning experience for me. My biggest learning curve was to have a striking plate so as to heat up the rod before the actual weld so as not to mar the final product as well as to make a perfect weld the first time and not one of those blobby spotty ones.

Tell me what you think, any advice is welcome as I am a beginner.

And thanks for reading hope you all keep coming back. Comments welcome on any of my posts.

Vice leg support


This is another post in iforgeiron on how I made my vice and its support.

Could I sink another gum pole directly in front of my original one like this?
post.png
Like you say Im trying to use whatever I have lying around and I don't have a plate that big.

ps. What do you think of my paint skills ha ha.

Here it is!! all set up and ready to be concreted in.
406100_188997747909212_870387602_n.jpg
This is to show the size of this vice.
270232_188997054575948_490986817_n.jpg
And here is the plot of land I cleared out today. (My brother in the background)
23716_188996747909312_1653541485_n.jpg
Another of my brother. This is about as much work as he did the whole time he was "helping" me 
293691_188996464576007_1334232346_n.jpg

Well here is the finished product.
524598_189492347859752_1007302004_n.jpg
And here is what my shop looks like so far.
486297_189492867859700_254766533_n.jpg

Once again I hope you enjoyed it and thanks for reading.