Friday 26 October 2012

4-1 Maille shirt

I will post pictures of the progress interspersed with a few comments on ideas and discovery's I had and found while making this shirt. I am still busy with it and have been working on it now for a little under a month.


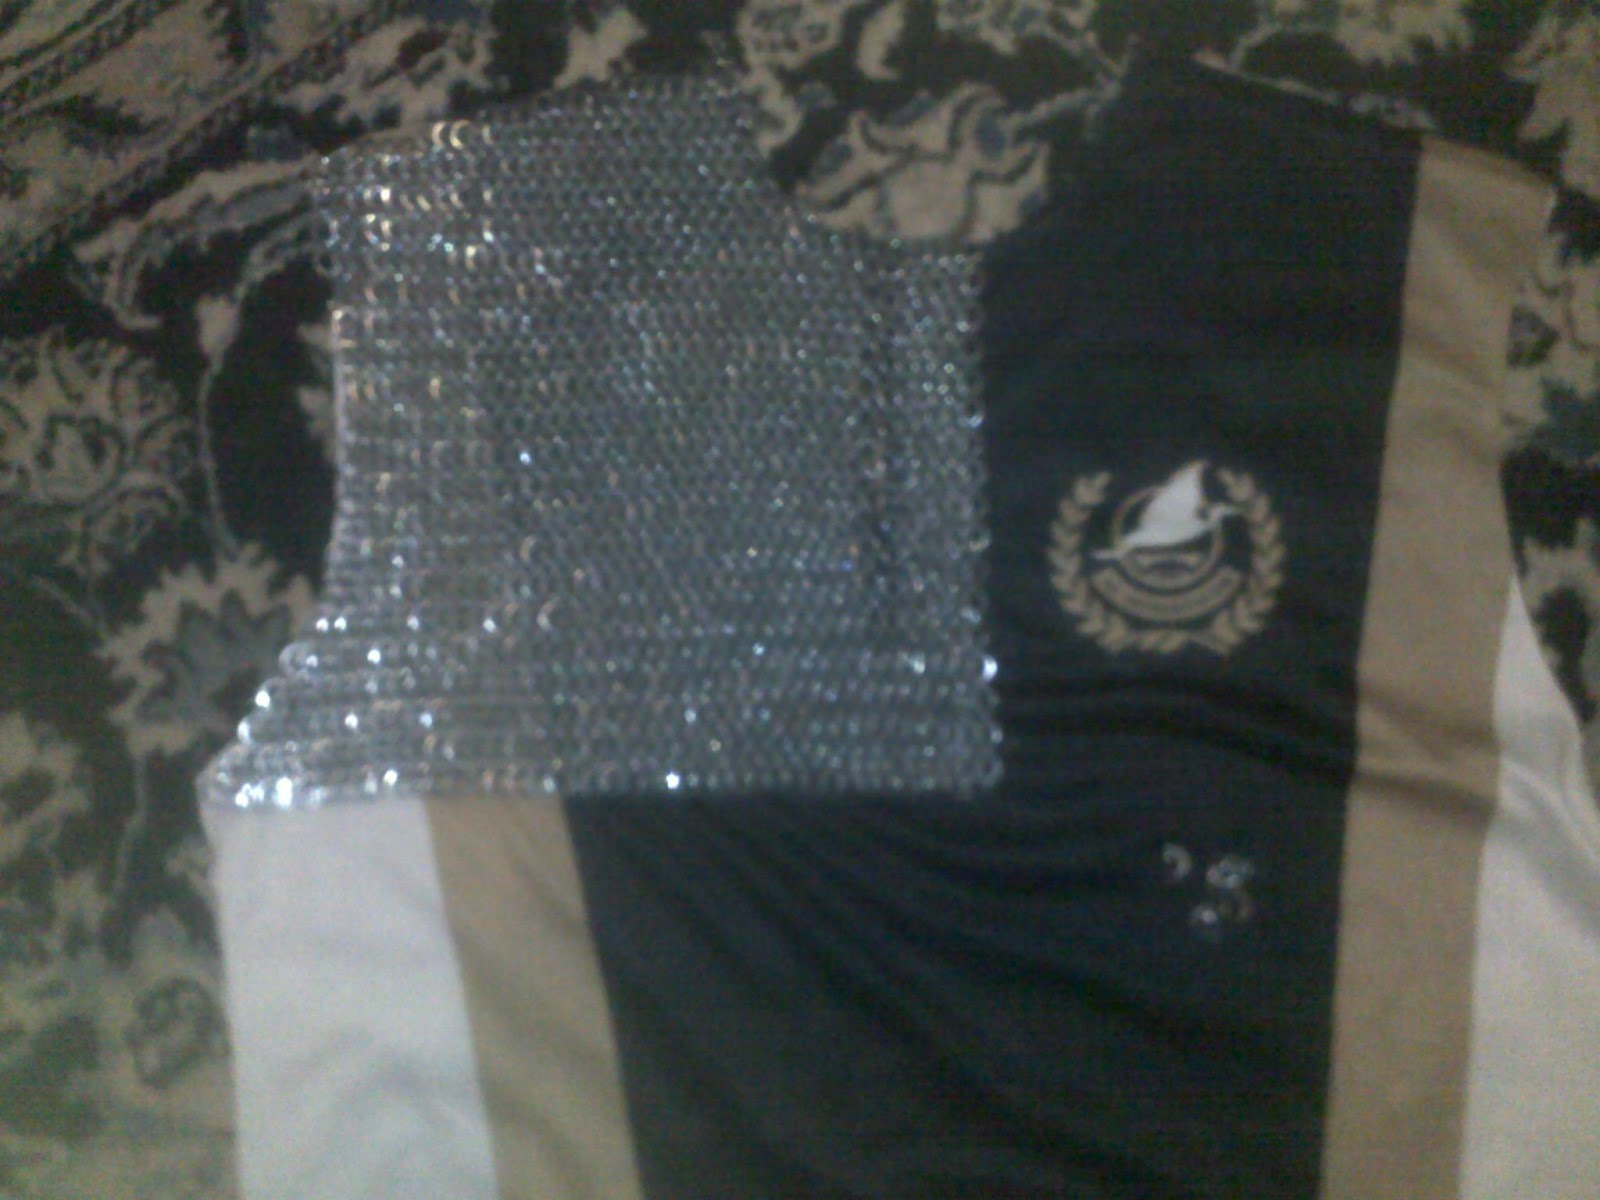
As you can see I am using and old shirt as the template for the maille. This is easier to do than just to make it to fit as a shirt has already been measures and proportioned. It will also make a nice undershirt for the maille so as to make it easier to put on and take off.

Round about here I realised that I had been doing the weave the wrong way and that rather than have the rows run vertically they needed to be running horizontally due to the fact that the expansion of 4-1 maille is in the same direction as the was the rows run and thus in a shirt the expansion needs to be horizontal rather than vertical due to breathing expanding the chest and shoulders.


At this point it weighs just over 1kg and I have estimated the final product will be just over 12kg in total.


I can now wear the shirt as I have added the back to the neck but it is not exactly elegant at the moment as the outside edges flap around. It now weighs 2kg and the front panel from shoulder to shoulder is almost done.

Long absence equals lots of stuff made.

Well lets take a look at all the news things I have done.

Firstly I want to show you my new blacksmiths vice. This thing was a spectacular find in my mow new favorite scrap yard in hartebeesport. It weighs about 60kg and is a solid work of art ha ha. All I need to do now is make a stand strong enough for it.


Next I want to show you the earrings, pendants and necklaces I have made as well. Each will have a little description and difficulty level.

Skeleton earrings
 These earrings are a mix between 4-1 euro maille and a byzantine tip. The beauty of this mixture is that the byzantine tip brings the euro maille together into a circular form. Difficulty 6/10 due to the fact that the rings are all so small and that the tightness of the links make it difficult to work with.
Baubles necklace
 I call this one baubles as it reminds me of a christmass tree decoration. These I make with a simple butterfly pattern which then gets manipulated a bit to make the flat butterfly pattern round. I will provide a tutorial on this pattern latter. Difficulty 4/10.
Closeup of baubles

Thors hammer
 The pendants I made including this thors hammer where inspired by the books I am reading written by Bernard Cornwell about early English history in the medieval ages around 850-950 AD. I now wear this thors hammer around my neck all the time. Basically just byzantine with two byzantine arms at the bottom. This pattern can also be used to make crosses. Difficulty 4/10
Bolt pendant
This is Odins lightning bolt and is also just a manipulation of the byzantine pattern. This can also be made into a bracelet. Difficulty 4/10.
Freyjas pendant
This pendant is dedicated to Freyja the wife of Odin and goddess of all women hence the female symbolism of the pendant. Also a manipulation of the byzantine pattern. Difficulty 4/10
Japanese 12-1 Bikini
This was a project I did for a friend a while back and is basically a bikini top done with the Japanese 12-1 weave. This weave is nice to use for this type of project as it naturally follows a triangular form. Difficulty 7/10

My next post is dedicated to the shirt I am making so look out for it.

Tuesday 16 October 2012

Whats new in the world of metal

Firstly I would like to yell. AAAAAAAAAAAAAYYYYYYYYYIIIIIAAAAAAAAAAA as I am so pleased with my lucky find on Thursday last week. It was the biggest blacksmiths vice (Leg vice) I have ever seen in my life and for a giveaway price. Upon reaching home I took it apart and lovingly restored it by re greasing the spindle square and its housing and cleaning the much out of the spring and the leg joint. All I need to do now is make a table or post for it.

The work on the Chainmaille shirt is coming along and I will be posting pictures of it in its process tomorrow. I will provide some explanations and some learning's with the pictures as well. On top of this I will be making a separate post dealing with the three bracelet types I am now also making.

The work on the shirt is becoming increasingly easier as my hands become accustomed to the strength of the rings, I have now developed very hard callouses on my fingers and beginnings of ones on my palms from the pliers that I use. In the beginning I could do no more than 30 mins of work whereas now I can do sustained work for over 2 hours. All I need to do now is a find a better position to sit in as my back is beginning to become the limiting factor in my work.

These spring washers are definitely a very good find although they are slightly limiting in terms of their thickness to inner ring ratio meaning that I cant do any work such as the dragon scale or other such weaves that require a smaller ring to pass through a bigger one.

Happiness is found where the heart as well as the soul lie.

Sunday 7 October 2012

Work is going well

The work on the chainmaille shirt is progressing, tomorrow I will be going in to get more spring washers as my tester bag is almost finished. I will be posting pictures of it as soon as there is discernible progress to the uninitiated eye. This work takes a long time to do as well as a lot of patience and skill. These factors are not understood in today's society in which everything is mass produced and easy to obtain.

This is probably why I resurrected this ancient art, it goes against what everyone else is doing and challenges modern day ideas and beliefs, although not openly as some believers do. I do this for self enjoyment relaxation and also a bit of spare money now and then when I do sell some of my work.

I say when I do because there is not a constant demand from people for chainmaille works such as jewelry, this is also my reason for starting my blacksmithing. This to is an ancient art in which time and effort make up the body of what is produced unlike today.

The general trend for me is the love of manipulating metal. Metal as it is is unyielding, strong and dull in its pure form, but in the hands of someone who knows how to treat the metal and how to work it it goes from dull and solid to something that flows as if life has been breathed into it by the smith. Chunks elongate to form knives, swords, tools, decorations and even clothing and jewelry. All of this from one material is simply wondrous  but the journey towards it is even more so.


Thursday 4 October 2012

New project and Dragonscale

I have started again! This time it is going well and i have a ready supply of rings.

What have I started you may ask?? well its my biggest project so far. A chainmaille shirt. So far I am only on the right shoulder but work progresses. Also I have made a few interesting earrings out of the byzantine style as well as the square box 4-2 style. These are pretty easy especially since I use only the spring washers that I have found at the builders warehouse up the road from me at a really good price of R82.70 per kg of steel.

That translates to almost 200 rings per kg of steel for the larger links and even more for the smaller rings that are available. My only gripe with them is that their ratio of wire thickness to ring inner width is a bit to small and hense I cannot make my favorite weave from them, The dragonscale weave which i am posting below!!! have fun!

This pattern was not made by myself and I acknowledge it thus.


Dragonscale (CGI, preclose large rings)
Submitted by DeadManWalking
Email

These are the instructions for creating Dragon Scale.
Red links are the current step and blue are the previous step
First off, you need to have 2 ring sizes, one being able to fit in the other with room to spare, I use 17 gauge 3/16" and 6/16" (3/8").

Step 1: Make a 1-2-2 chain alternating ring sizes.

Step 2: Next, place closed large links over the small links as shown
note: They are not connected to anything yet.
You may want to do this one at a time in conjunction with the next step.

Step 3: Now connect large links to the small rings, trapping the other links inside.

Step 4: Connect the trapped large links to each other using small links.

Step 5: At this point, I usually like to add the connecting links to the top row.

Step 6: Attach large links to the connectors (not the links you just added, but the links from step 4).

Repeat steps 5&6 to lengthen the piece.

Okay, I hope I didn't confuse you too much.